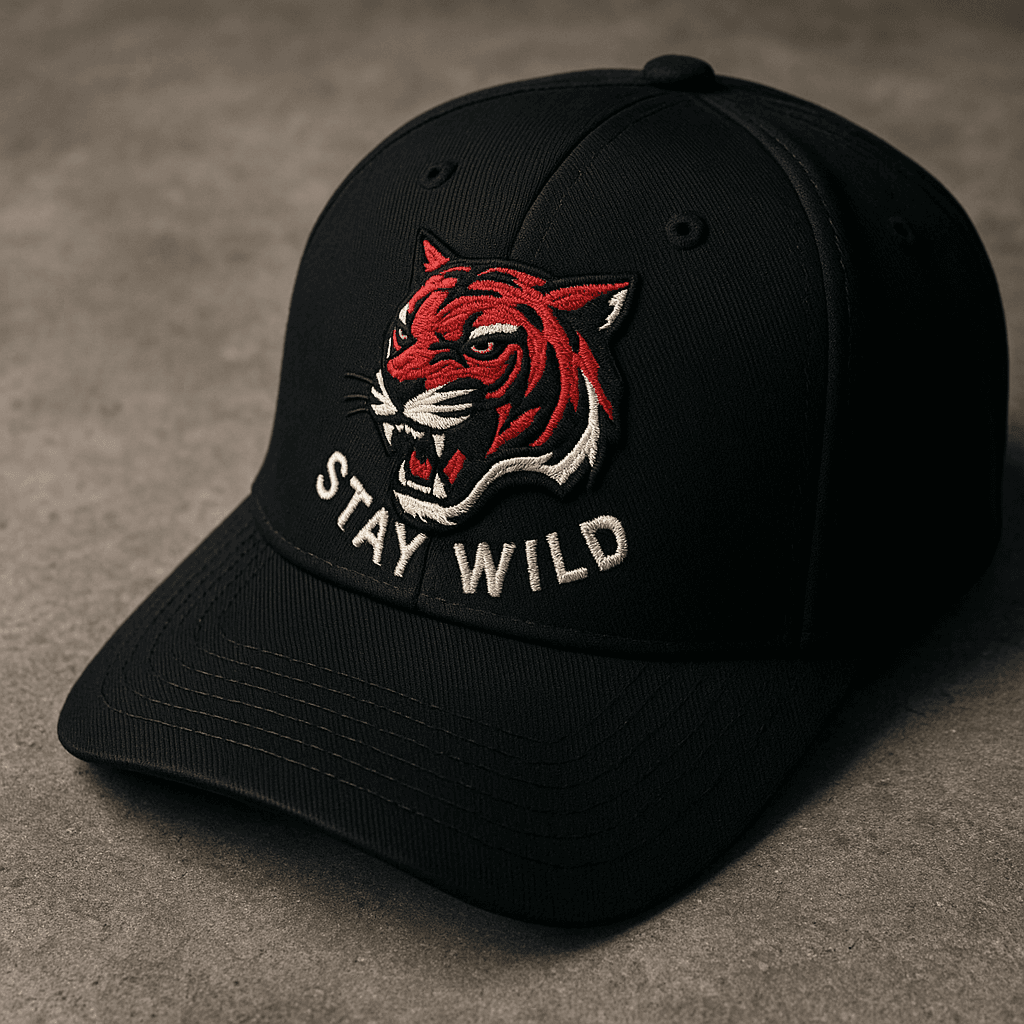
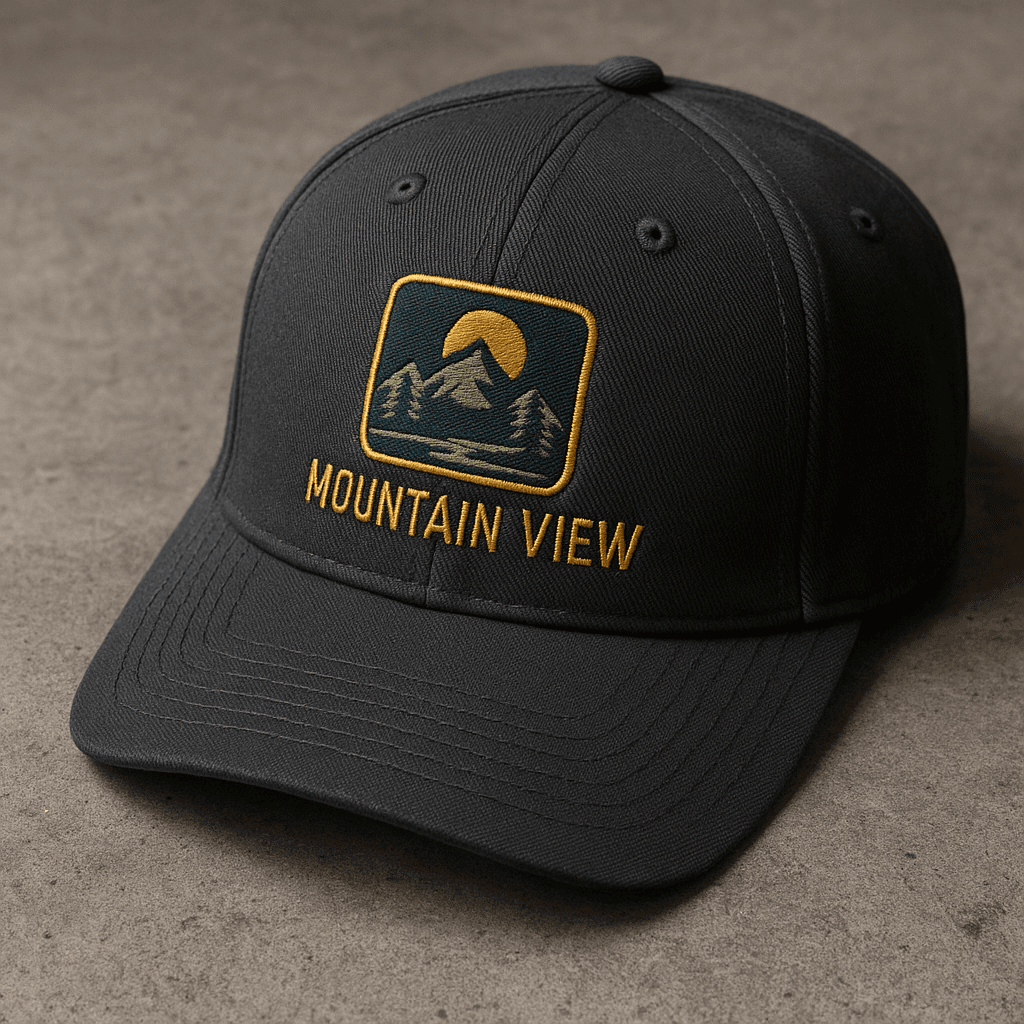
Custom hat embroidery

Upload your logo to start a custom hat order.

Start with your artwork. Place it on the hat preview, then we review sizing, thread colors, and embroidery readiness before production.

Stitch methods

3D puff embroidery

Raised foam-backed stitching for bold logos, initials, and brand marks that need dimension. Best for simple shapes, thicker lettering, and artwork that can hold a clean edge.

Flat embroidery

Clean stitched detail for smaller marks, curved text, outlines, and designs that need a refined finish. This is usually the best choice when the logo has more detail.

Patch application

Woven, embroidered, leatherette, and specialty patches stitched to hats for a premium retail look. Patches help when artwork needs a crisp shape, texture, or repeatable merch finish.

6
piece minimum for hats
2-7
day typical turnaround
500+
thread color options
Proof
review before production
Size
Thread
Proof
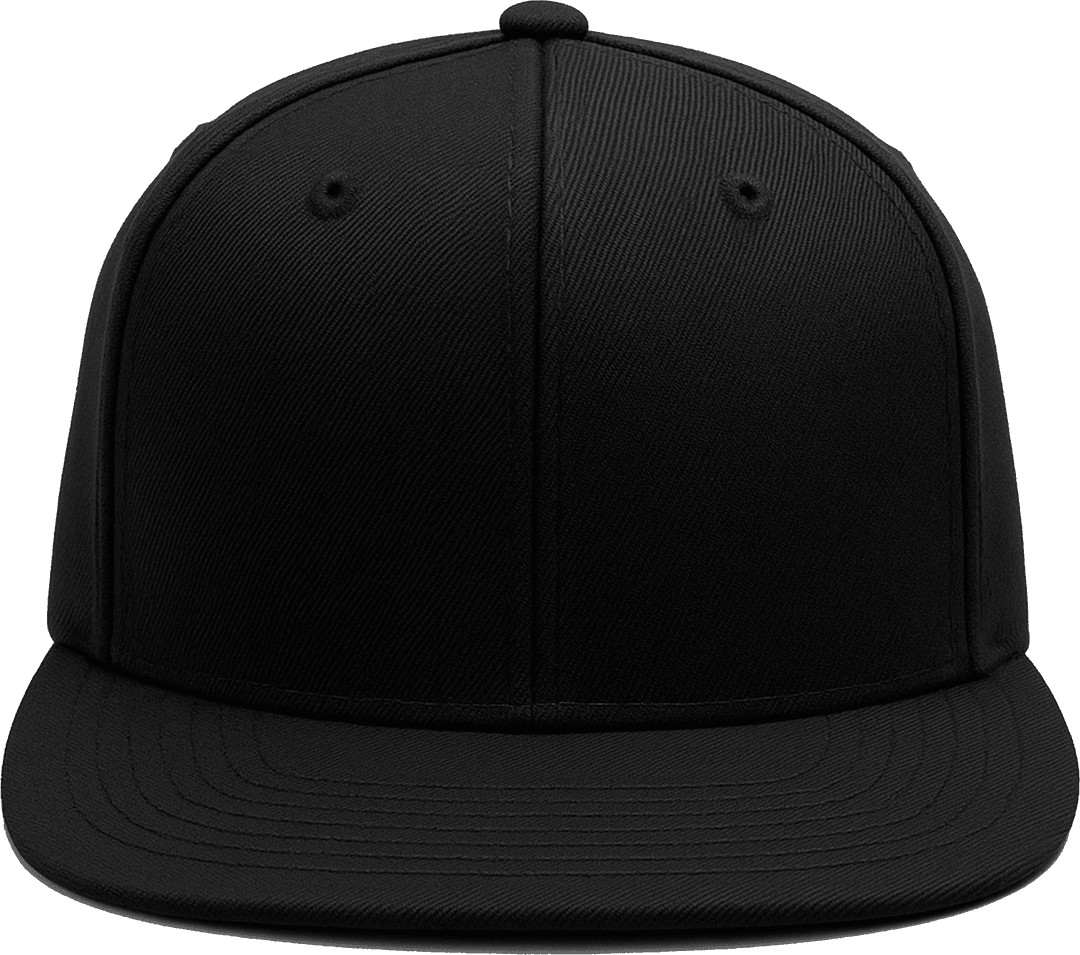
Blank custom hat preview
Stitch-count pricing
$0.95 per 1,000 stitches, per hat.
Production review
Thread colors and stitch method checked before sewing.

Hat embroidery details

What we check before stitching your hats.

Hats are curved, structured, and limited by the front panel size. We review the artwork, thread colors, placement, stitch method, and hat style before production so the final embroidery is clean and wearable.

Size matters on hats

Most front hat embroidery works best around 2.0-2.3 inches tall and up to about 4.5 inches wide. Tall designs may need to be simplified.

Thread colors get reviewed

Digital colors and real thread do not always match perfectly, so we review thread choices before production and flag contrast issues.

Clean artwork stitches better

PNG, JPG, SVG, and PSD files work for starting the order. Vector artwork or high-resolution files usually create cleaner digitizing.

Proofs protect the order

Production starts after proof approval, so placement, size, spelling, and colors should be checked carefully before stitching begins.

Embroidery methods

Pick the finish that fits the hat.

Different designs stitch better in different ways. Before production, we check your artwork and recommend the method that will look best on the hat style.

3D puff embroidery

Raised foam-backed stitching for bold logos, initials, and brand marks that need dimension. Best for simple shapes, thicker lettering, and artwork that can hold a clean edge.

Flat embroidery

Clean stitched detail for smaller marks, curved text, outlines, and designs that need a refined finish. This is usually the best choice when the logo has more detail.

Patch application

Woven, embroidered, leatherette, and specialty patches stitched to hats for a premium retail look. Patches help when artwork needs a crisp shape, texture, or repeatable merch finish.

Flat embroidery custom hat embroidery

Best for detail and everyday brand marks

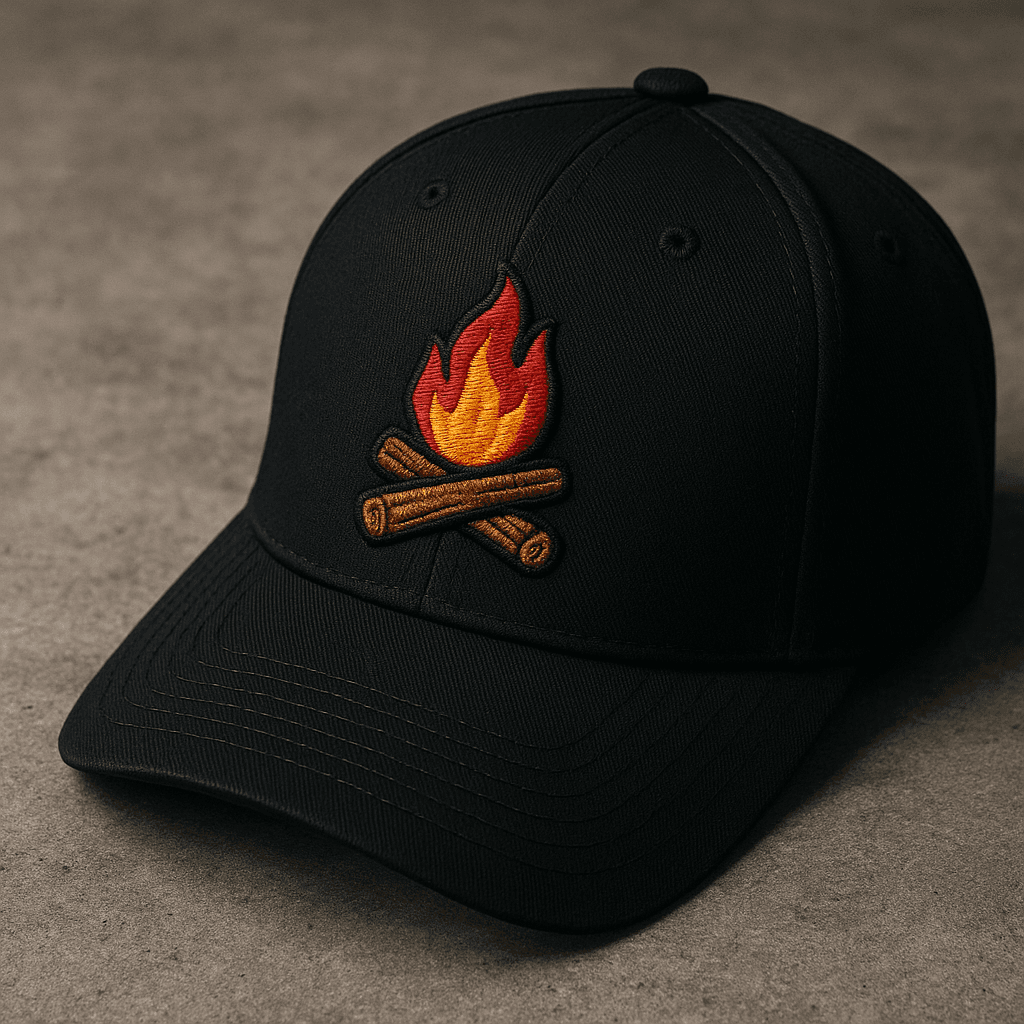
Flat embroidery

Uses regular embroidery thread directly on the hat panel.

Works well for logos with outlines, small shapes, and readable text.

Recommended when the artwork needs a cleaner, lower-profile finish.

Usually the safest method for dad hats, curved bill caps, and detailed marks.
3D puff embroidery custom hat embroidery

Best for raised logos and bold lettering

3D puff embroidery

Foam is placed under the stitches to create a raised effect.

Works best with thick letters, strong shapes, and simple logo marks.

Tiny text, thin outlines, and tight corners may need to be simplified.

Structured snapbacks and truckers usually give puff embroidery the cleanest face.

Patch-style hats custom hat embroidery

Best for retail texture and repeatable merch

Patch-style hats

Patches can be embroidered, woven, leatherette, or specialty material.

Good option when the artwork has a defined badge, crest, or label shape.

Helps create a premium merch feel across multiple hat styles.

Patch borders and backing are reviewed before production so the final placement sits cleanly.

Setup process

The setup is where clean hat embroidery is made.

A hat is not a flat shirt. The curve, center seam, panel height, backing, thread pull, and artwork density all affect the final stitchout. We review those details before production so the order has a realistic plan.

Artwork cleanup

We look at line weight, small text, gradients, and background edges. Some files need to be simplified so the design can stitch cleanly instead of turning muddy.

Sizing and placement

Hat fronts have limited height because of the curve and panel shape. Most clean front embroidery lands around 2.0-2.3 inches tall with width adjusted to the logo.

Thread color matching

Your uploaded colors are matched to real thread colors, then you can adjust them. We still review contrast because digital color and physical thread can behave differently.

Production proofing

Before stitching, we confirm size, placement, thread choices, spelling, and any method limits. The goal is to catch problems before hats go on the machine.

Hat styles

Different hats need different embroidery decisions.

You can bring your own hats or ask us to help source blanks. The right style depends on the logo size, how structured the front panel is, and how the hats will be worn.

Snapbacks embroidery example

Snapbacks

Structured shape with a bold front panel. Best for logos, team marks, and clean 3D puff work.

Trucker hats embroidery example

Trucker hats

Mesh-back hats with strong brand visibility. Great for outdoor teams, crews, events, and merch drops.

Dad hats and curved bills embroidery example

Dad hats and curved bills

Softer, more casual fit. Best with simplified artwork, smaller stitch areas, and flat embroidery.

How it starts

Upload first. We handle the production details after.

You do not need to know stitch counts or digitizing rules before reaching out. Send the artwork, set the rough size and placement, and we will review what is realistic for embroidery.

1
Upload your logo or artwork
2
Choose size, location, and quantity
3
We review stitch readiness and thread colors
4
You receive a proof before production
Custom embroidered hats on display

Production notes

The method should match the artwork.

A design that looks good on screen still needs to be prepared for thread, foam, curves, seams, and real hat fabric. These are the details we look at before sending an order to production.

Flat embroidery is best for detail, small text, outlines, and designs that need a clean professional finish.

3D puff is best for bold lettering and simple logo shapes. Thin lines and tiny details usually do not puff well.

Applique and patch-style applications are useful when the design needs texture, strong edges, or a retail-style finish.

Structured hats usually hold front embroidery better than soft unstructured hats, especially for puff work.

Before you upload

Good files make better embroidery.

Upload what you have now. If we need a cleaner version, vector artwork, or a simplified version for puff embroidery, we will call that out during review.

Use the highest-resolution logo file available.
Avoid tiny text if the design will be under 2.5 inches wide.
Tell us if you want flat embroidery, 3D puff, or a patch-style look.
Include deadline notes if the hats are for an event.